Step by Step Procedure
Follow the given below points step by step to know how to operate the software.
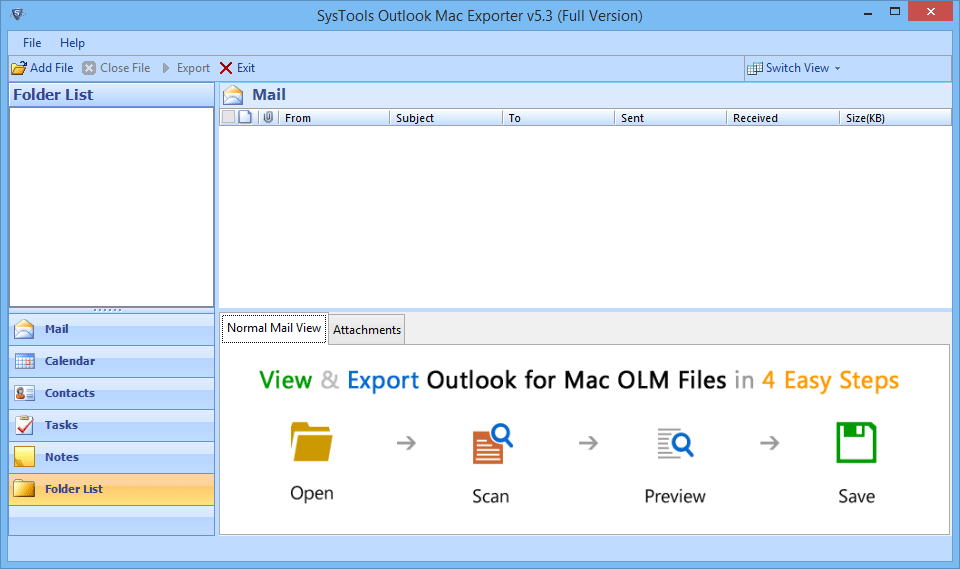
1. Install the software and go to start button and click on all program list and open software to run it.
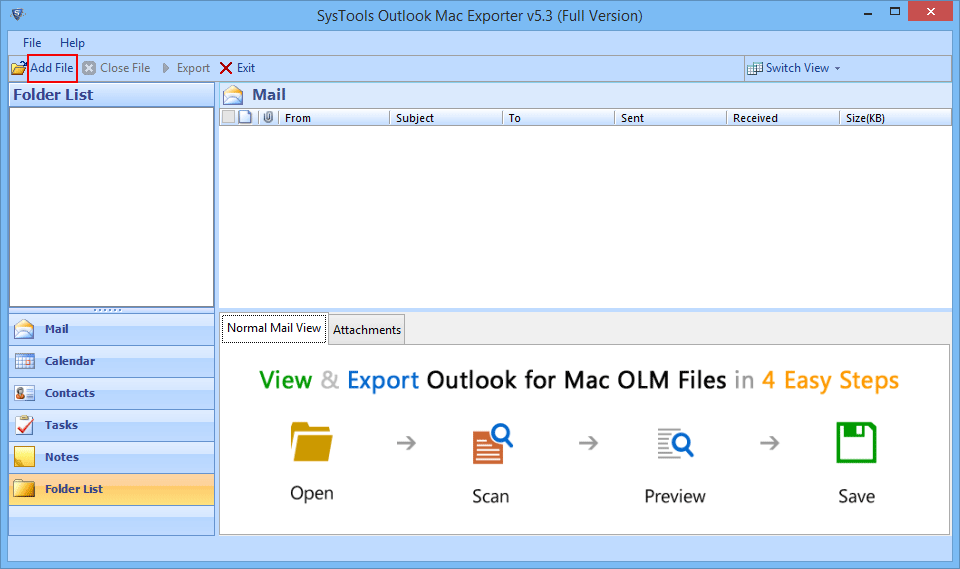
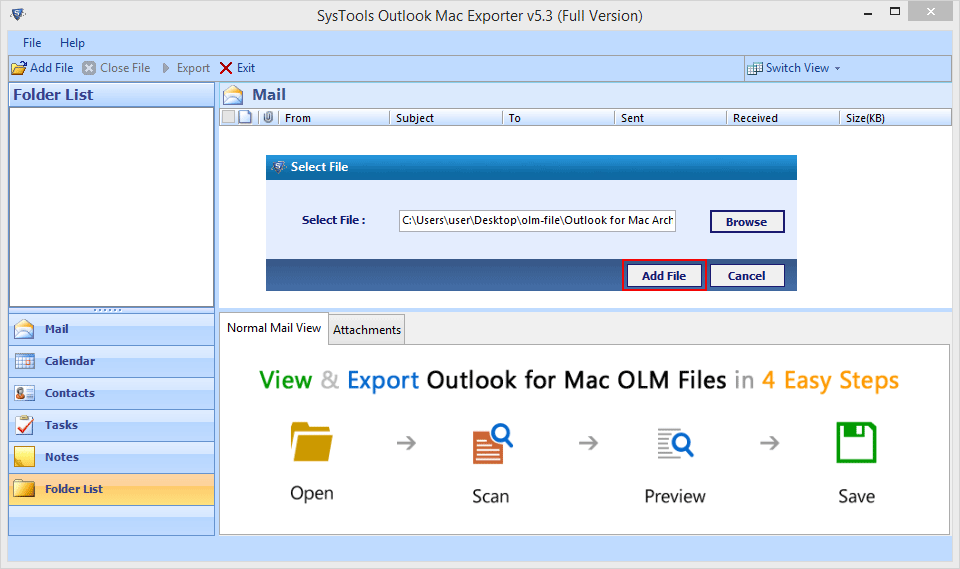
2. Now add Olm file which you want to convert by clicking on Add File button
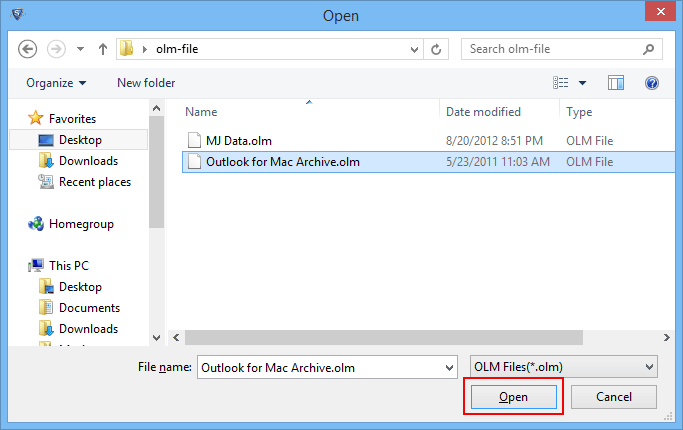
3. A Select File dialog box appears click on browse button to locate the respective olm file.
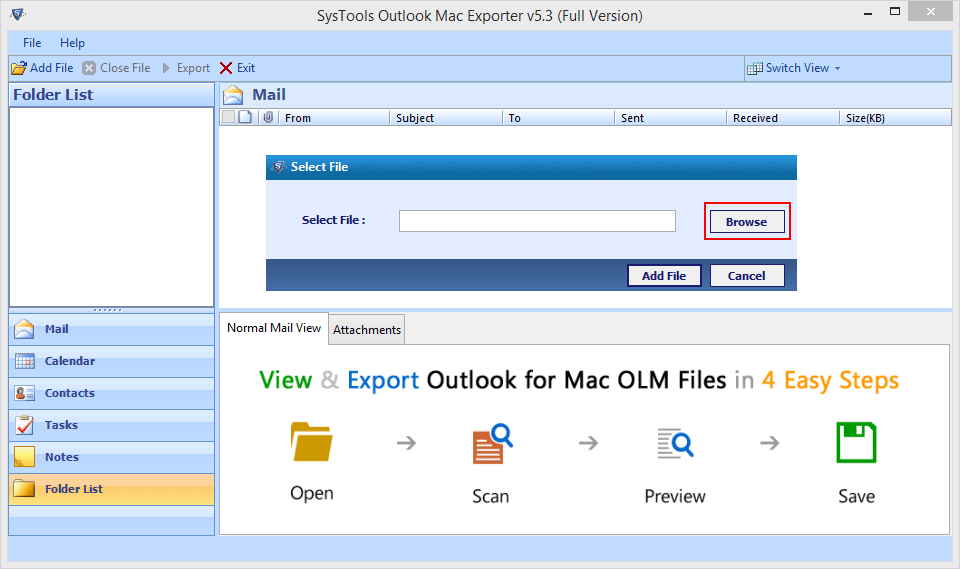
4. Specify the olm file source location and click on open button to add specified file in the software.
5. Click on add file to start the scanning process.
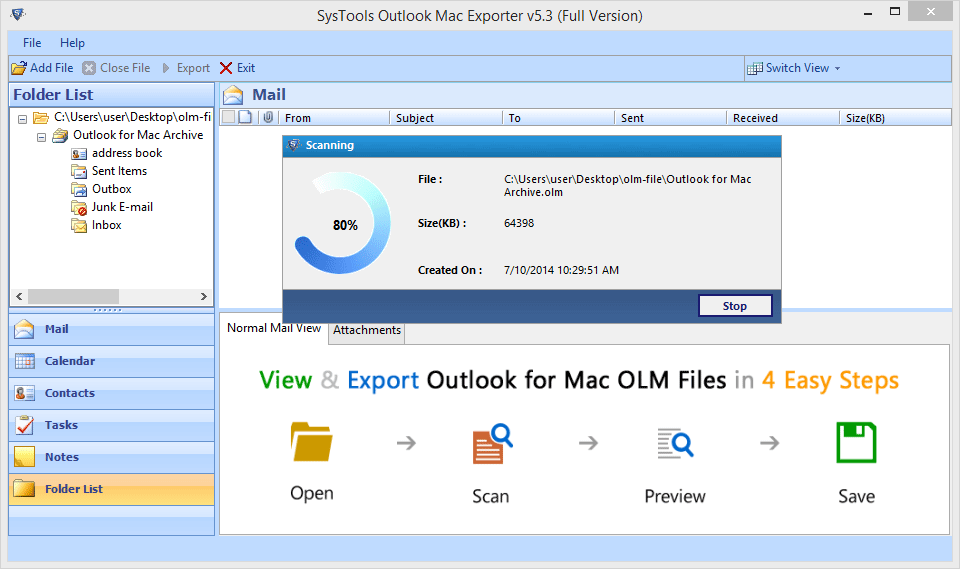
6. Software initializes OLM File Scanning process and displays progress of the process with file name, size and time stamp details.
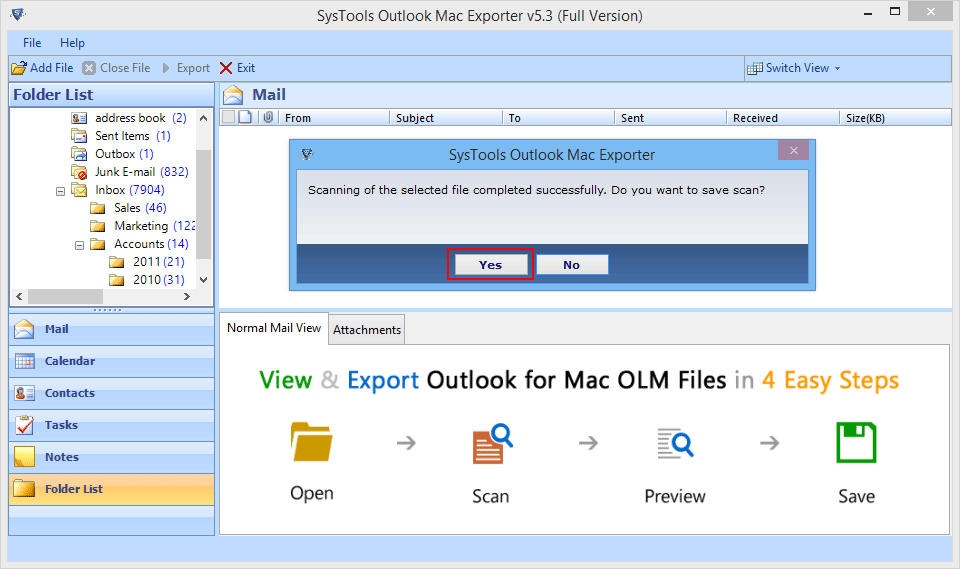
7. After completion of scanning process, software ask you to save scanned copy of file if you want to save the scanned copy of file then click on yes button
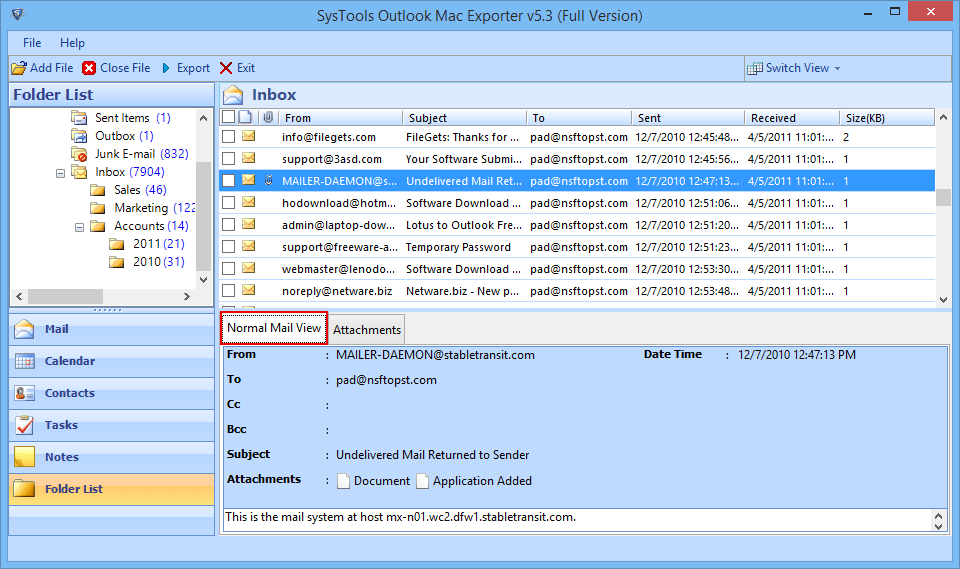
8. To get a preview of your email click on Normal mail view tab.
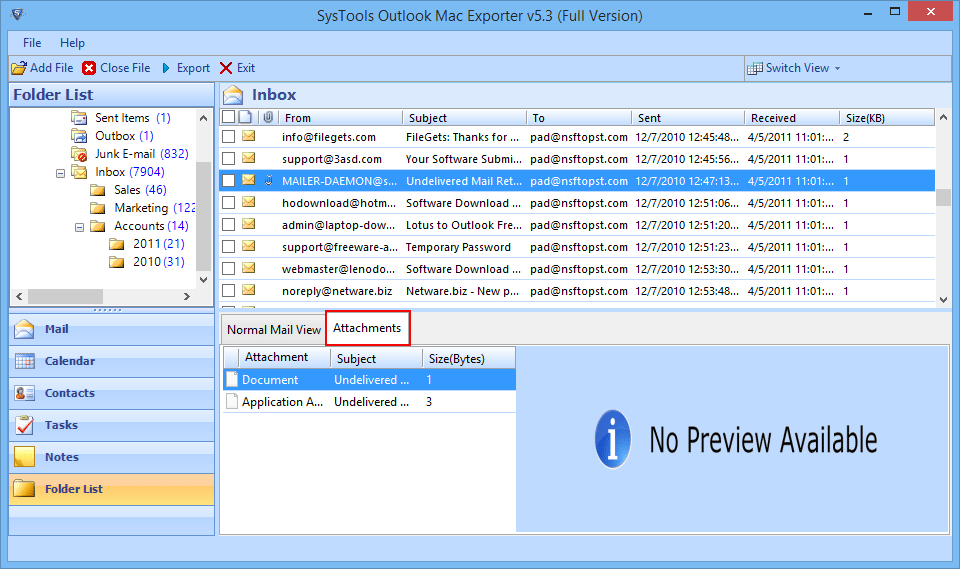
9. Attachments can also be viewed, click on Attachments tab to get a preview of it.
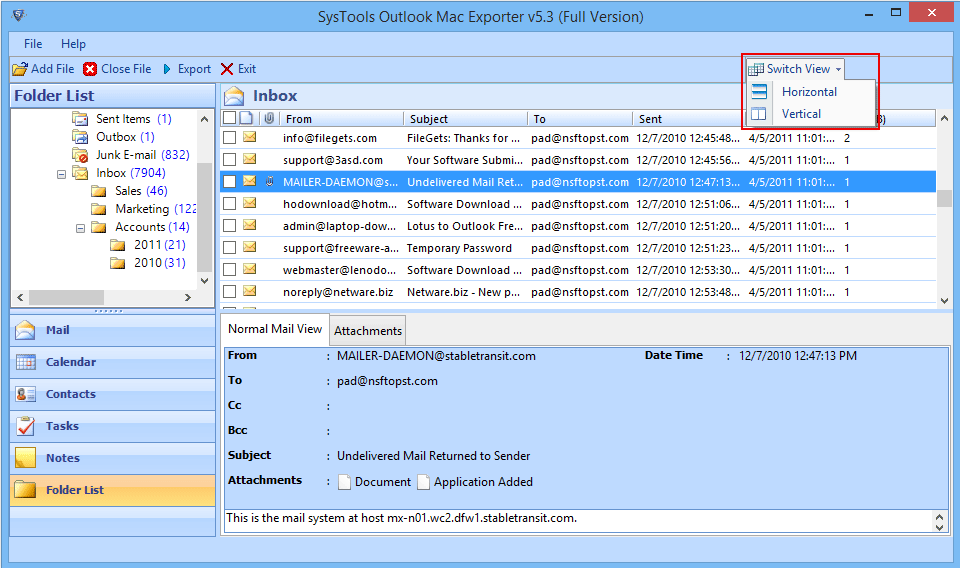
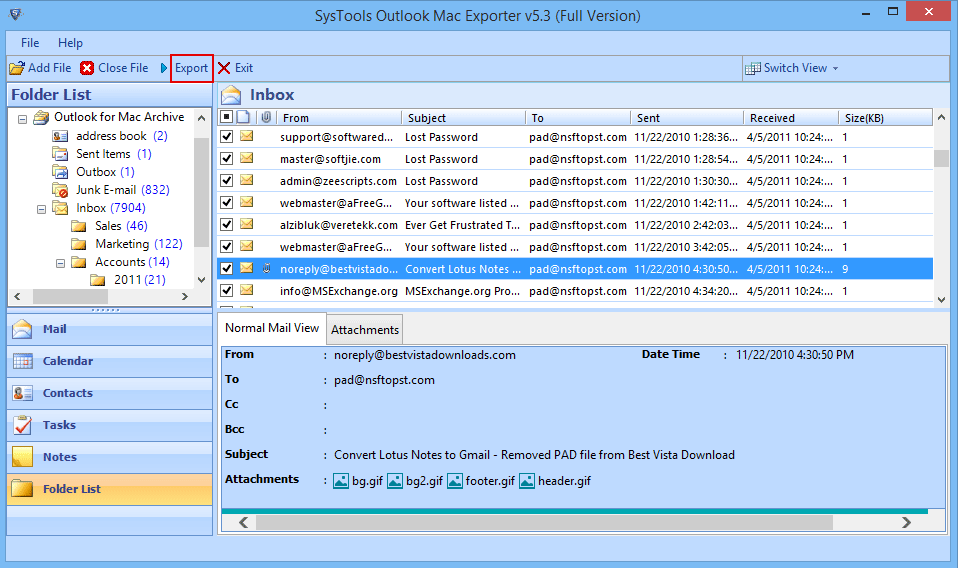
10. You can switch from horizontal to vertical view by clicking on Switch View button.
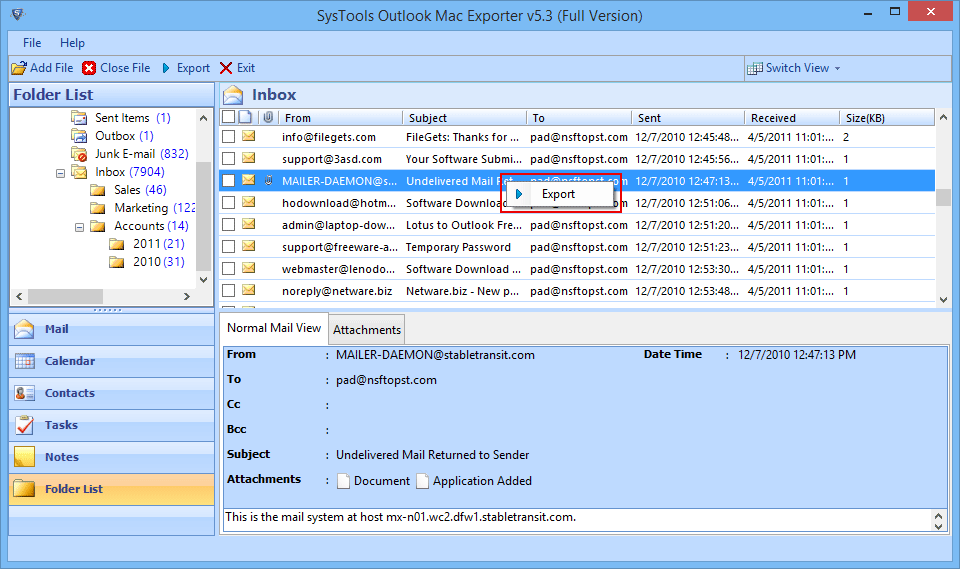
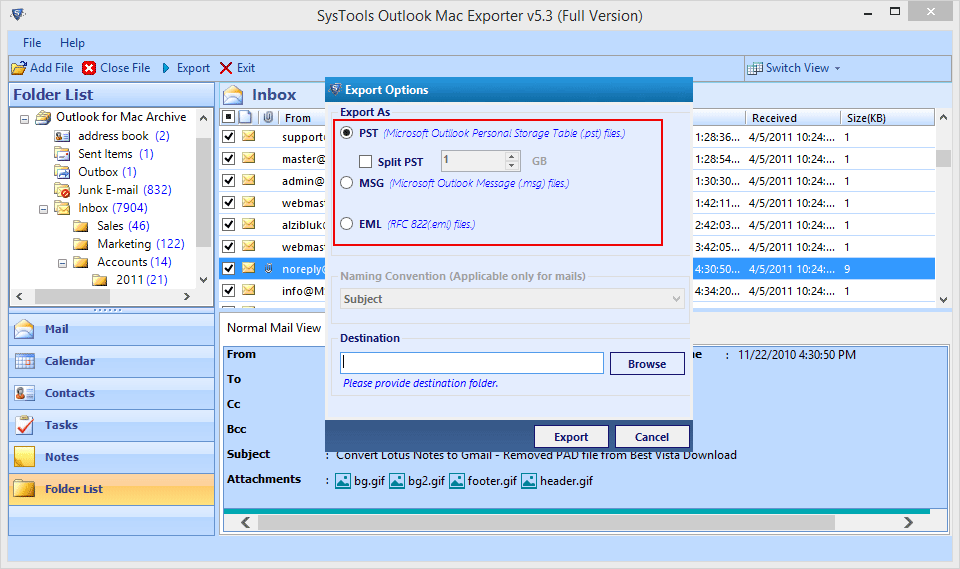
11. Check the checkboxes of emails that you want to export it to other format (PST, EML, MSG) and then select export option.
12. Now select the required file format into which you want to export
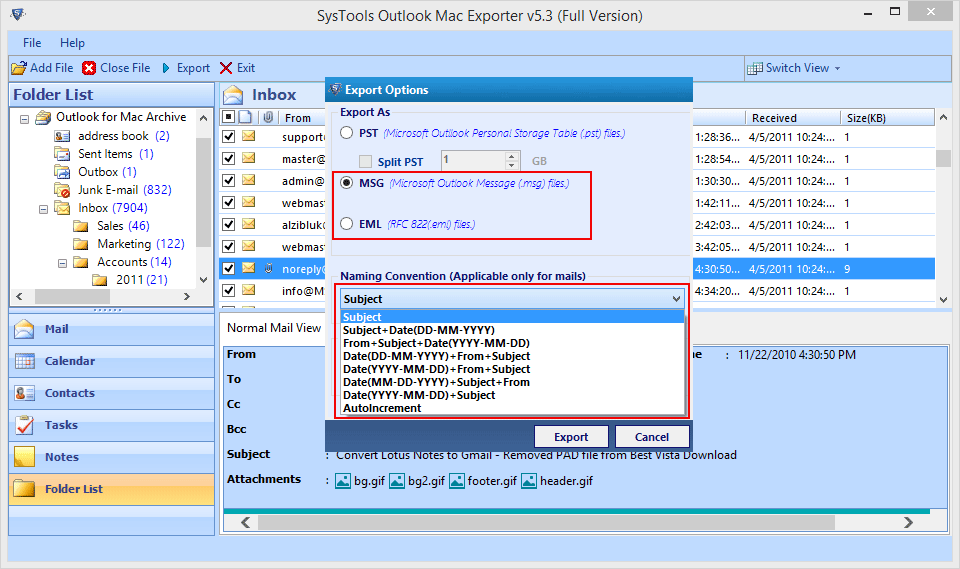
13. When you are exporting olm file to eml or msg you get an Naming Convention option to save the name of output file according to your choice..
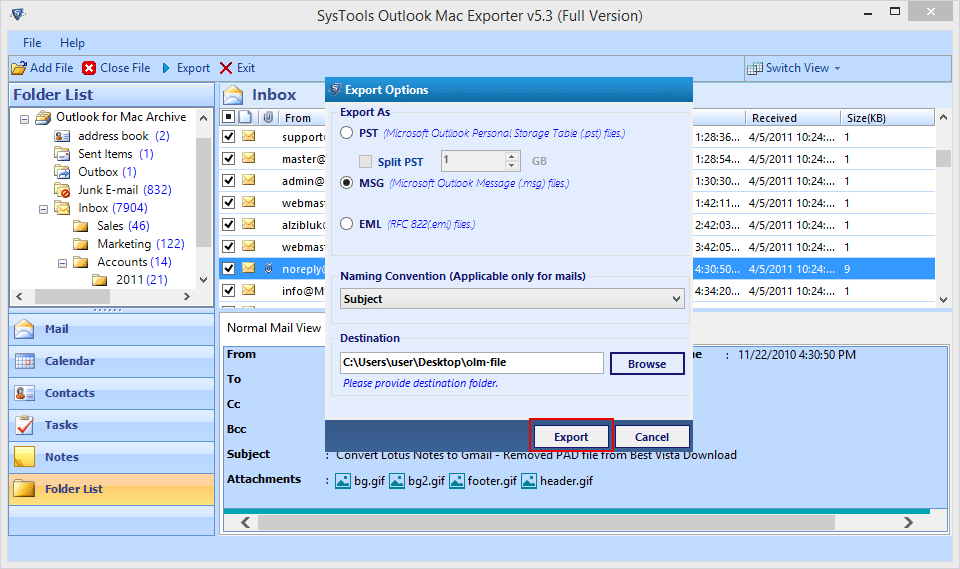
14. Click on Browse button to specify the location where you want to save your output file and click on Export button.
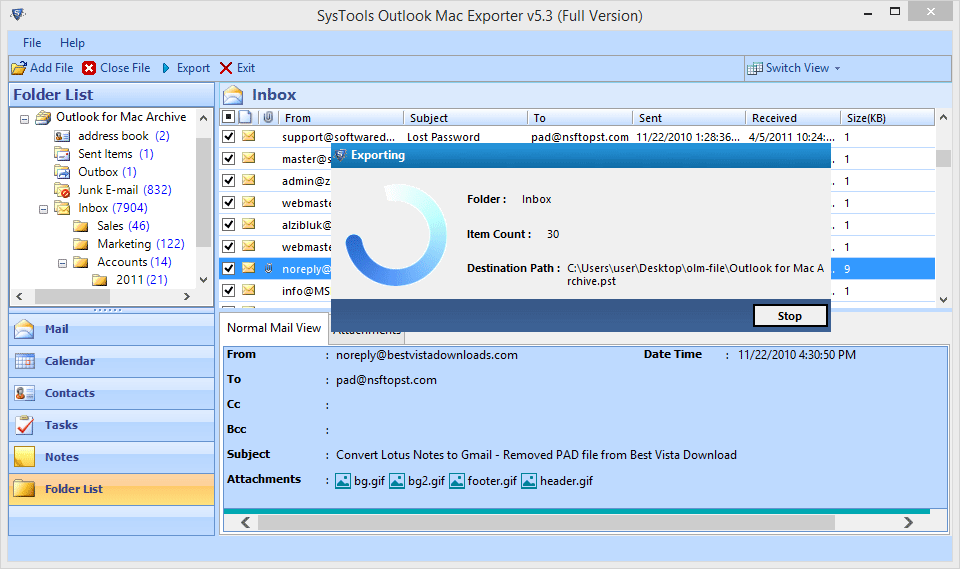
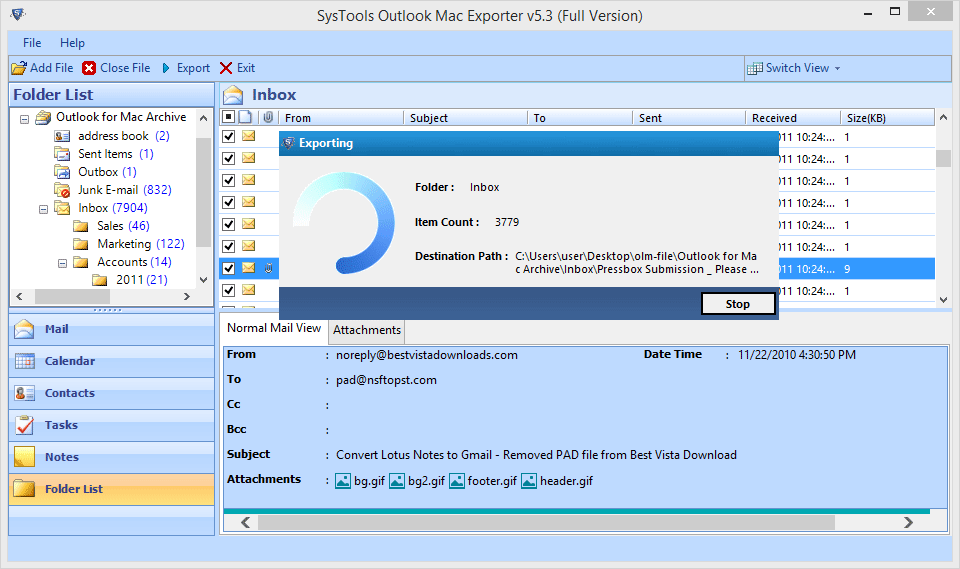
15. The software starts the Exporting process and displays Folder, item count, and destination path.
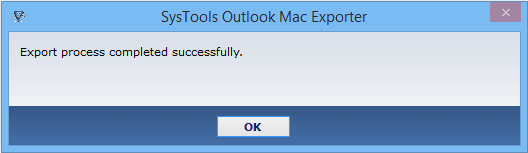
16. After the Export process gets completed a notification appears with a message Export Process Completed Successfully click on OK button to proceed further.
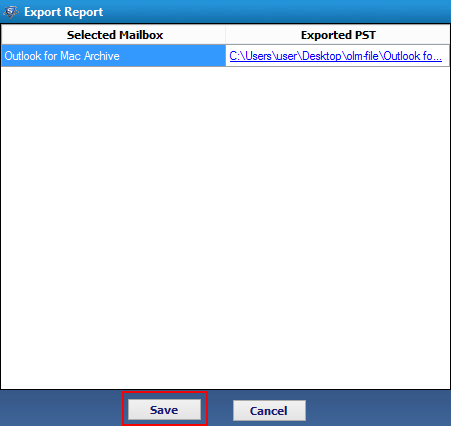
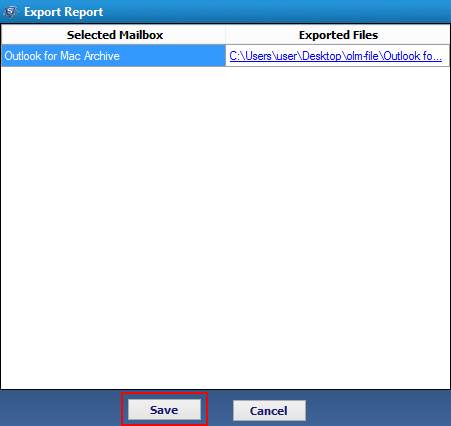
17. If you want to save the Export report click on Save button otherwise click on Cancel button..
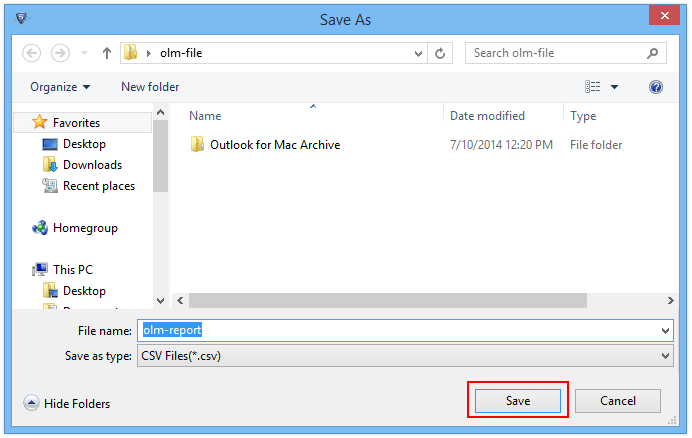
18. Enter the name of export report and click on Save button to save the file with specified name.
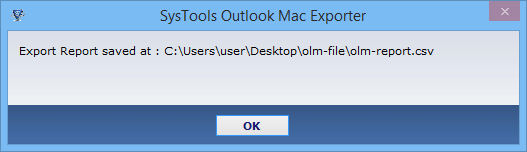
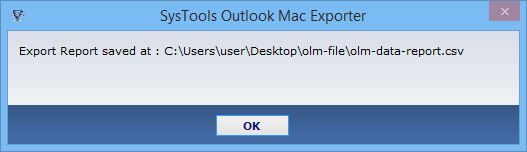
19. After the report is saved a screen appears showing destination of saved file, click OK button to proceed further.
20. If you want to export selected folder, click on Export button from navigation bar.
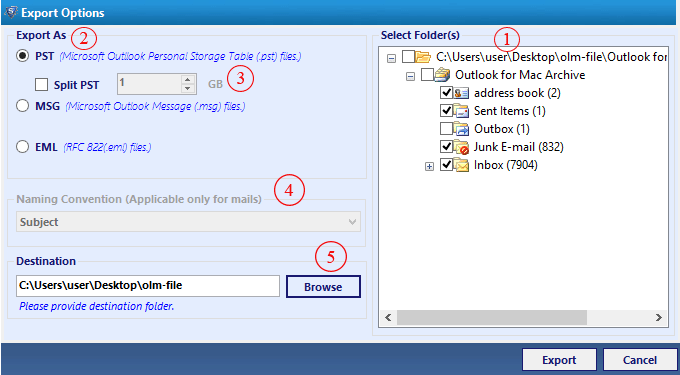
21. Next screen appears which contains the following section.
Select folder: choose the folder that you want to export.
Export As: it gives you option to export the file in PST, EML or MSG. Select the desired file format.
Split PST: large PST file can be split into smaller ones.
Naming convention: Define naming convention for the emails to be exported.
Browse Destination: select location to save the exported file
22. The software starts the Exporting process and displays Folder, item count, and destination path.
23. Now save the exported report by clicking on Save button
24. A screen showing destination of file appears on the window. Click on OK button to proceed further.
25. You can verify the items exported after using Outlook Mac Exporter software . Just go to location where you have saved PST file and open files in MS Outlook
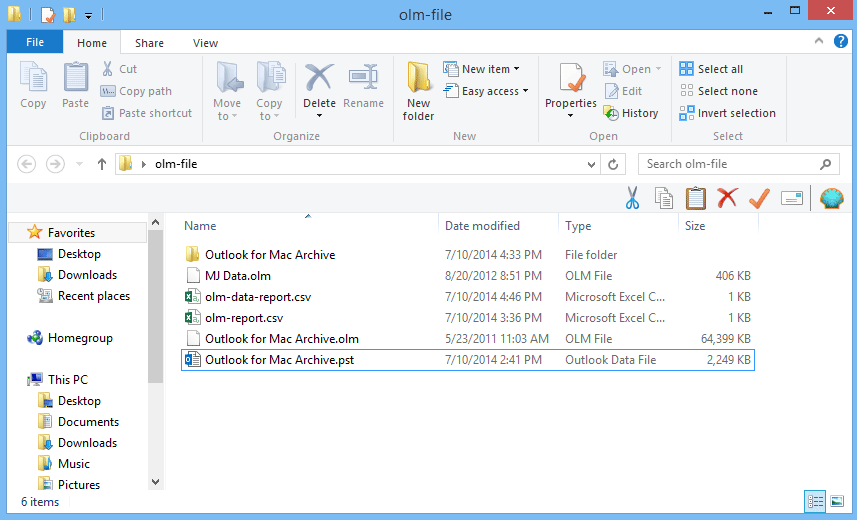
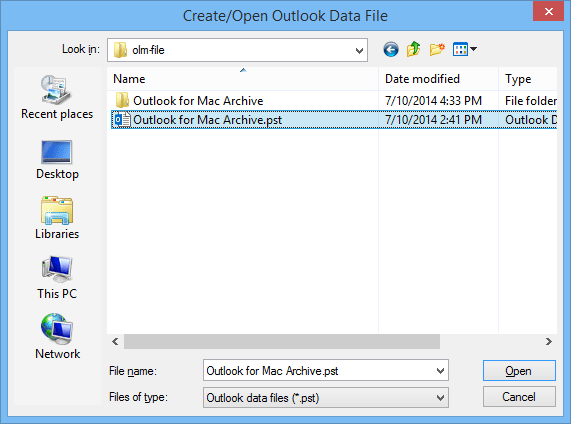
26. You can Also verify the items exported into PST files after using the Outlook Mac Exporter software. Go to the location where you had saved the PST file and click on Open button
27. Preview the PST file data in MS Outlook.